
How to Merge, Compress and Split PDF Files Online Without Losing Quality
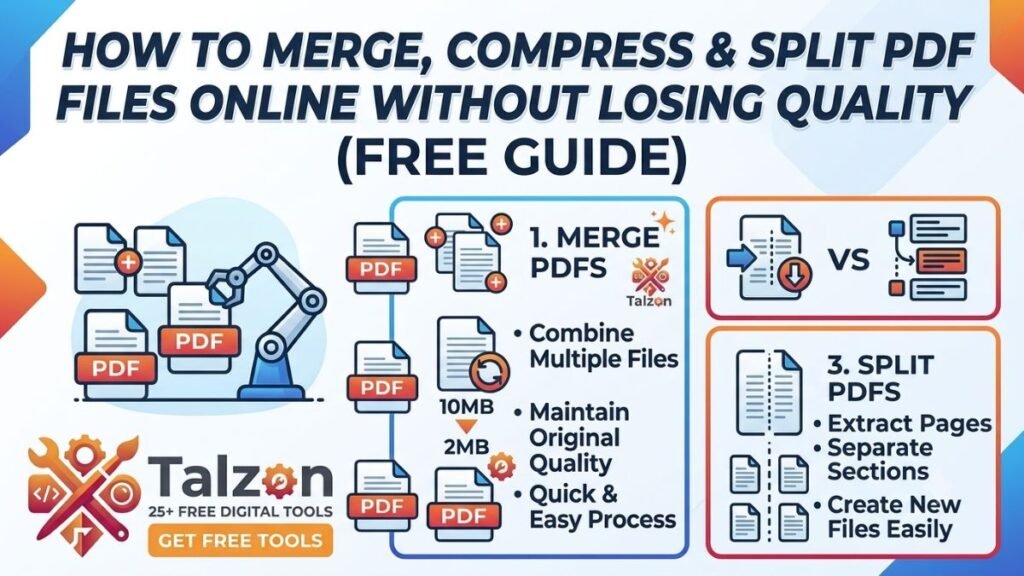
At some point, almost everyone runs into the same three PDF problems: you need to combine several files into one document, a file is too large to email, or you need to pull just a few pages out of a much longer report. It sounds simple, but the wrong tool can quietly wreck your file — blurry scans, mangled fonts, pages that shuffle out of order, or a “compressed” PDF that’s somehow still 40MB.
Here’s how to actually merge, compress, and split PDFs online without losing quality, plus what’s happening behind the scenes so you can avoid the tools that quietly ruin your files.
Why PDF Quality Gets Lost in the First Place
Before getting into the how-to, it helps to understand why quality loss happens at all:
- Merging can lose quality when a tool flattens or re-renders pages instead of stitching the original file data together. This is common with free tools that convert every page to an image first.
- Compressing loses quality when a tool blindly downsamples every image in the file to the same low resolution, regardless of whether that image was a small icon or a full-page photo.
- Splitting rarely causes quality loss on its own, but it can break internal links, bookmarks, or form fields if the tool doesn’t preserve the document structure.
Once you know what’s actually happening, it’s much easier to pick — and use — the right tool for the job.
How to Merge PDF Files Without Losing Quality
1. Check that the tool merges natively, not by converting to images. The best merge tools work directly with the PDF’s internal structure, combining pages as vector/text data rather than flattening them into images. If the output looks slightly blurry or the text is no longer selectable after merging, it converted your pages to images somewhere in the process.
2. Keep your files in their original format going in. If you’re merging a Word-exported PDF with a scanned PDF, merge them as-is rather than pre-converting either one. Re-saving or re-exporting a PDF before merging is one of the most common ways people introduce unnecessary compression.
3. Check the page order before and after. Most merge tools let you drag and reorder pages before finalizing. Always preview the final document rather than trusting the default order, especially when merging more than two files.
4. Verify text is still selectable. After merging, try selecting text in the new file. If you can highlight and copy it like normal, the merge preserved the original data. If the whole page behaves like one solid image, quality and searchability have been lost.
How to Compress a PDF Without Ruining It
Compression is where most quality gets lost, because a lot of free tools use a “one-size-fits-all” compression level regardless of what’s actually inside your file.
1. Understand what’s taking up the space. Large PDFs are almost always large because of embedded images, not text. A 200-page text-only report is usually a few hundred KB. A 10-page PDF full of high-resolution photos can be 50MB+. Know which one you’re dealing with before you compress.
2. Choose a compression level that matches your use case:
- Web/email sharing: Medium compression is usually fine — images get resized to a reasonable resolution while staying sharp on screen.
- Printing: Use light compression or none at all. Print quality needs higher DPI than screen viewing, and aggressive compression will show as visible artifacting on paper.
- Archiving/legal documents: Avoid compression tools that alter image resolution at all. Look for options that compress at the file-structure level (removing duplicate data, unused fonts, and metadata) instead of touching the images.
3. Compress in stages if the first result isn’t good enough. Instead of jumping straight to “maximum compression,” try a lighter setting first and check the result. You can always compress further, but you can’t undo quality loss once it’s applied to a file you no longer have the original of.
4. Always keep your original file. This sounds obvious, but it’s the single most important habit here. Compress a copy, not your only version, so you can always start over if the result isn’t what you expected.
How to Split a PDF Without Breaking It
Splitting is the safest of the three operations for quality, but not for structure. Here’s how to do it cleanly:
1. Split by page ranges, not by “extract everything and reassemble.” A good split tool lets you select exact page ranges or specific pages to pull out, rather than breaking the file apart entirely and forcing you to rebuild what you need.
2. Check bookmarks and internal links after splitting. If your original PDF had a table of contents with clickable links, or cross-references between sections, confirm those still work in the new, smaller file. Some basic tools strip this metadata out during the split.
3. Rename files clearly as you split. When splitting a large document into multiple smaller ones (say, a 100-page report into individual chapters), rename each output file immediately with a clear naming convention. It’s a small step that saves a lot of confusion later.
A Simple Workflow to Follow
If you’re doing all three tasks — merging, compressing, and splitting — the order matters:
- Merge first, combining your source files into one document.
- Split second, if you need to separate out specific sections after merging.
- Compress last, once you have your final combined or split file ready to share. Compressing early and then merging or splitting again can compound quality loss unnecessarily.
Quick Checklist Before You Share or Print
- Text is still selectable/searchable after merging
- Page order confirmed after merge
- Compression level matches the use case (screen vs. print vs. archive)
- Original, uncompressed file saved separately
- Bookmarks/internal links checked after splitting
- Output files renamed clearly
Final Thoughts
Merging, compressing, and splitting PDFs doesn’t have to mean gambling with your file’s quality. The key is understanding what each operation actually does to your document — and choosing the right settings and tools for what you’re trying to accomplish, rather than defaulting to “maximum compression” or the first free converter that pops up. A few extra minutes of care up front will save you from having to redo the whole thing later.